

A free template for Joomla 6 is only useful if you end up with a site. PX Base comes with a quickstart that installs Joomla 6.2, the template, the PX Content module, the T4 Framework plugin and seven demo pages, and you replace the content instead of building the layout. This walkthrough goes from download to a page of your own, and says where the template stops. It needs a free account on this site and PHP 8.3 or later.
What you need
- Joomla 6.x and PHP 8.3 or later. PX Base does not run on Joomla 5. On a Joomla 5 site, read Joomla 5 vs Joomla 6 first.
- MySQL 8.0.13+ or MariaDB 10.4+, and Apache 2.4+ or Nginx 1.21+.
- A ThePixel.dev account. It is free; the downloads sit behind the login.
Quickstart or template?
The product page offers four downloads. Which one you need depends on whether the site exists yet:
| Download | Use it when |
|---|---|
| Quickstart | New site. Installs Joomla 6.2, the template, PX Content, T4 Framework and the demo content in one go. |
| Template | You add PX Base to a site you already have. |
| PX Content module | Needed with the template package; already in the quickstart. |
| T4 Framework plugin | Needed with the template package; already in the quickstart. |
Step 1: install the quickstart
- Log in on this site, open the PX Base page and download the Quickstart zip.
- Create an empty database and a database user on your hosting.
- Upload the quickstart zip to the folder where the site will live and extract it.
- Open the domain. The Joomla installer starts.
- Enter the site name, your admin account and the database details, then click Install Joomla.
- Click Remove "installation" folder when it finishes.
The demo users are not included. You log in with the admin account you just created. After this you have a working copy of the demo site, which is the starting point for everything below.
How the demo pages are built
Before you change anything, it helps to know the pattern, because every page follows it. We looked at the installed quickstart:
- Home, About, Services, Projects and Pricing use the template style PX Base - Home. Blog and Contact use PX Base - Default. A third style, PX Base - No sidebar, is for plain content pages. Open them under System → Site Template Styles.
- Each page of the first group has its own header module in the
slideshowposition (PX Home Hero, PX About Header, PX Services Header, PX Projects Header, PX Pricing Header), followed by section modules insection-1tosection-11. - Almost all of these modules are the same type, PX Content. One module shows one block: a hero, a pricing table, an FAQ. Some modules are assigned to several pages; PX Home Testimonials, for example, shows on Home, About, Services, Projects and Pricing, and you change that on the module's Menu Assignment tab.
PX Content has 12 block types in 20 styles: Hero (2), Features Intro (4), Clients (3), Gallery (2), Accordion (2, the FAQ), and Pricing, Testimonials, Team, Stats, Timeline, Contact Info and Call To Action (1 each). Timeline is not used on the demo pages, so it is free for your own steps or milestones. Why we built it this way is in the PX Base release post.
Step 2: logo, name and colors
In System → Site Template Styles, click a style name. That opens the T4 settings screen with a live preview next to it.
- Site Settings → Logo Settings holds the site name, slogan, logo image and a smaller logo for phones.
- Theme Color sets Primary (the lime green of the buttons and highlights) and Secondary, plus base, main menu and footer colors.
The three styles share the default site, navigation and theme profiles, so a new logo or color shows on every page, not just the one you edited. For small design changes use Tools → Edit Custom CSS; that CSS survives template updates.
Step 3: replace the demo content
Go to Content → Site Modules and type the page name in the search box: PX Home, PX About, PX Pricing. You get the sections of that page, with their position and type. Open one to change the block, its style, texts, images and buttons. The tab Advanced JSON holds all settings of a block as text, so you can copy a section to another module or another site.
The pricing, testimonials and client logos in the demo are ThePixel's own. Unpublish those modules or rewrite them before the site goes public, or your visitors read someone else's reviews.
Step 4: edit on the page
Most texts and images can be changed without opening the module:
- Log in on the site (the demo links the login page in the footer, under Resources) and click Edit content at the bottom right.
- Double-click a heading or paragraph, change it, and press Ctrl/⌘ + Enter to save.
- Use the Img and BG buttons to pick an image or background from the Media Manager.
- Settings on a block opens spacing, alignment and button styles. Click Done when you finish.
It works for users who are allowed to edit modules, so Joomla permissions decide who gets it. You can switch it off per module with Frontend Inline Edit on the Advanced tab.
Step 5: add a page of your own
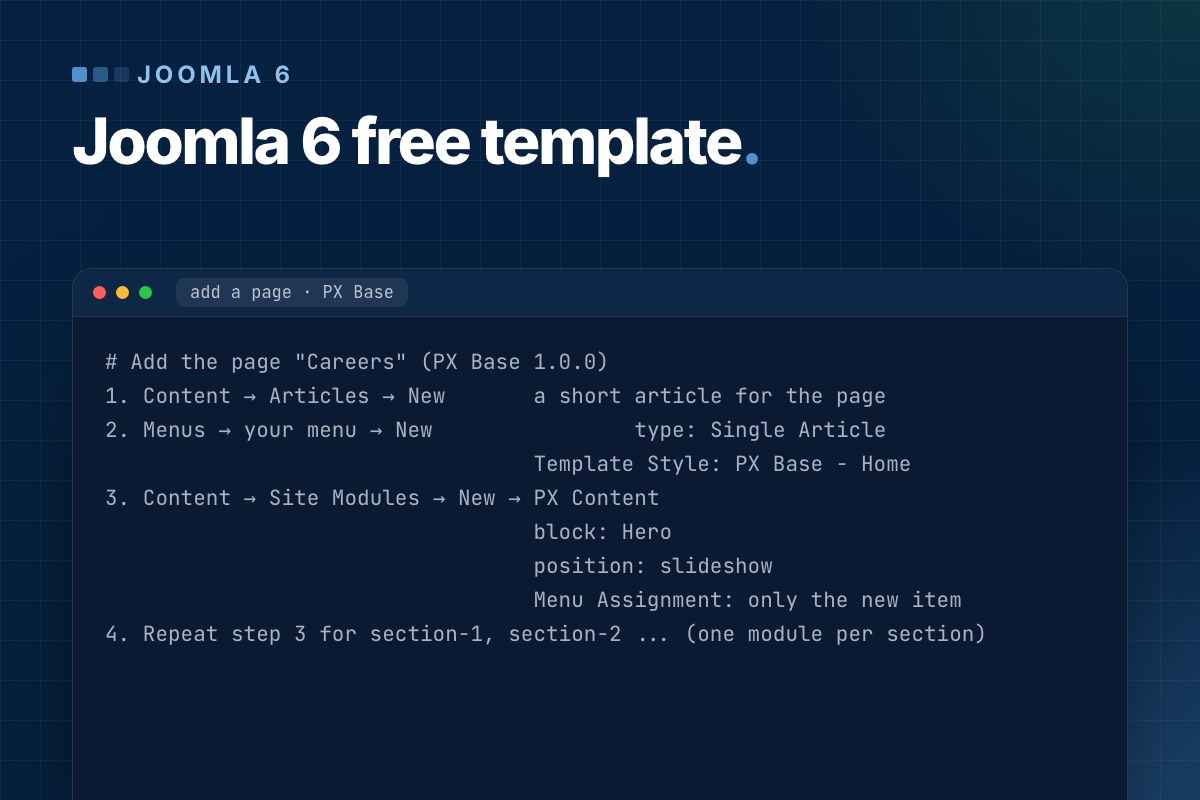
A new page is an article, a menu item and a few PX Content modules. This is the recipe from the PX Base documentation, and it is how the quickstart builds its own Services page: a Single Article menu item with the style PX Base - Home, and a Hero module in slideshow that is assigned to that one menu item. We read that structure from the installed quickstart; we did not click through the steps for a new page.
# Add the page "Careers" (PX Base 1.0.0)
1. Content → Articles → New       a short article for the page
2. Menus → your menu → New                type: Single Article
                                  Template Style: PX Base - Home
3. Content → Site Modules → New → PX Content
                                  block: Hero
                                  position: slideshow
                                  Menu Assignment: only the new item
4. Repeat step 3 for section-1, section-2 ... (one module per section)
The Blog menu item is a Category Blog of the Blog category and uses the default style. Contact details live in Components → Contacts, and the FAQ under the contact form is a PX Content module in contact-bottom.
Already have a Joomla 6 site?
Install the downloads in this order under System → Install → Extensions: the T4 Framework plugin (check that System - T4 Framework is enabled in System → Plugins), then the PX Base template, then the PX Content module. A manual install gives you the template and its styles but not the demo pages and modules, so build your pages with the recipe above.
Limits you should know
- Joomla 6 and PHP 8.3+ only. There is no Joomla 5 build.
- Do not edit the template files. An update overwrites them; put changes in Custom CSS.
- Changes not showing? Clear the cache under System → Clear Cache. With CSS & JS Optimization on in the T4 Global Settings, also reload with Ctrl/⌘ + Shift + R after changing Custom CSS.
- Back up before every update. New versions show in System → Update → Extensions. If a release needs a newer T4 Framework or PX Content, its release notes say so.
The full reference, with screenshots of every settings screen, is the PX Base documentation. Joomla 6.2 itself is covered in What's new in Joomla 6.
Get PX Base
Download the quickstart from the PX Base page; you can use it on as many sites as you like. If the design has to match a brand beyond colors and blocks, our template customization service builds on top of it.